
News from the inventor of the rain barrel
Back in the 1980s, we were already ahead of our time: the classic rain barrel that everyone knows today was in fact invented by Speidel. The further development is the rain column.
Visit our shop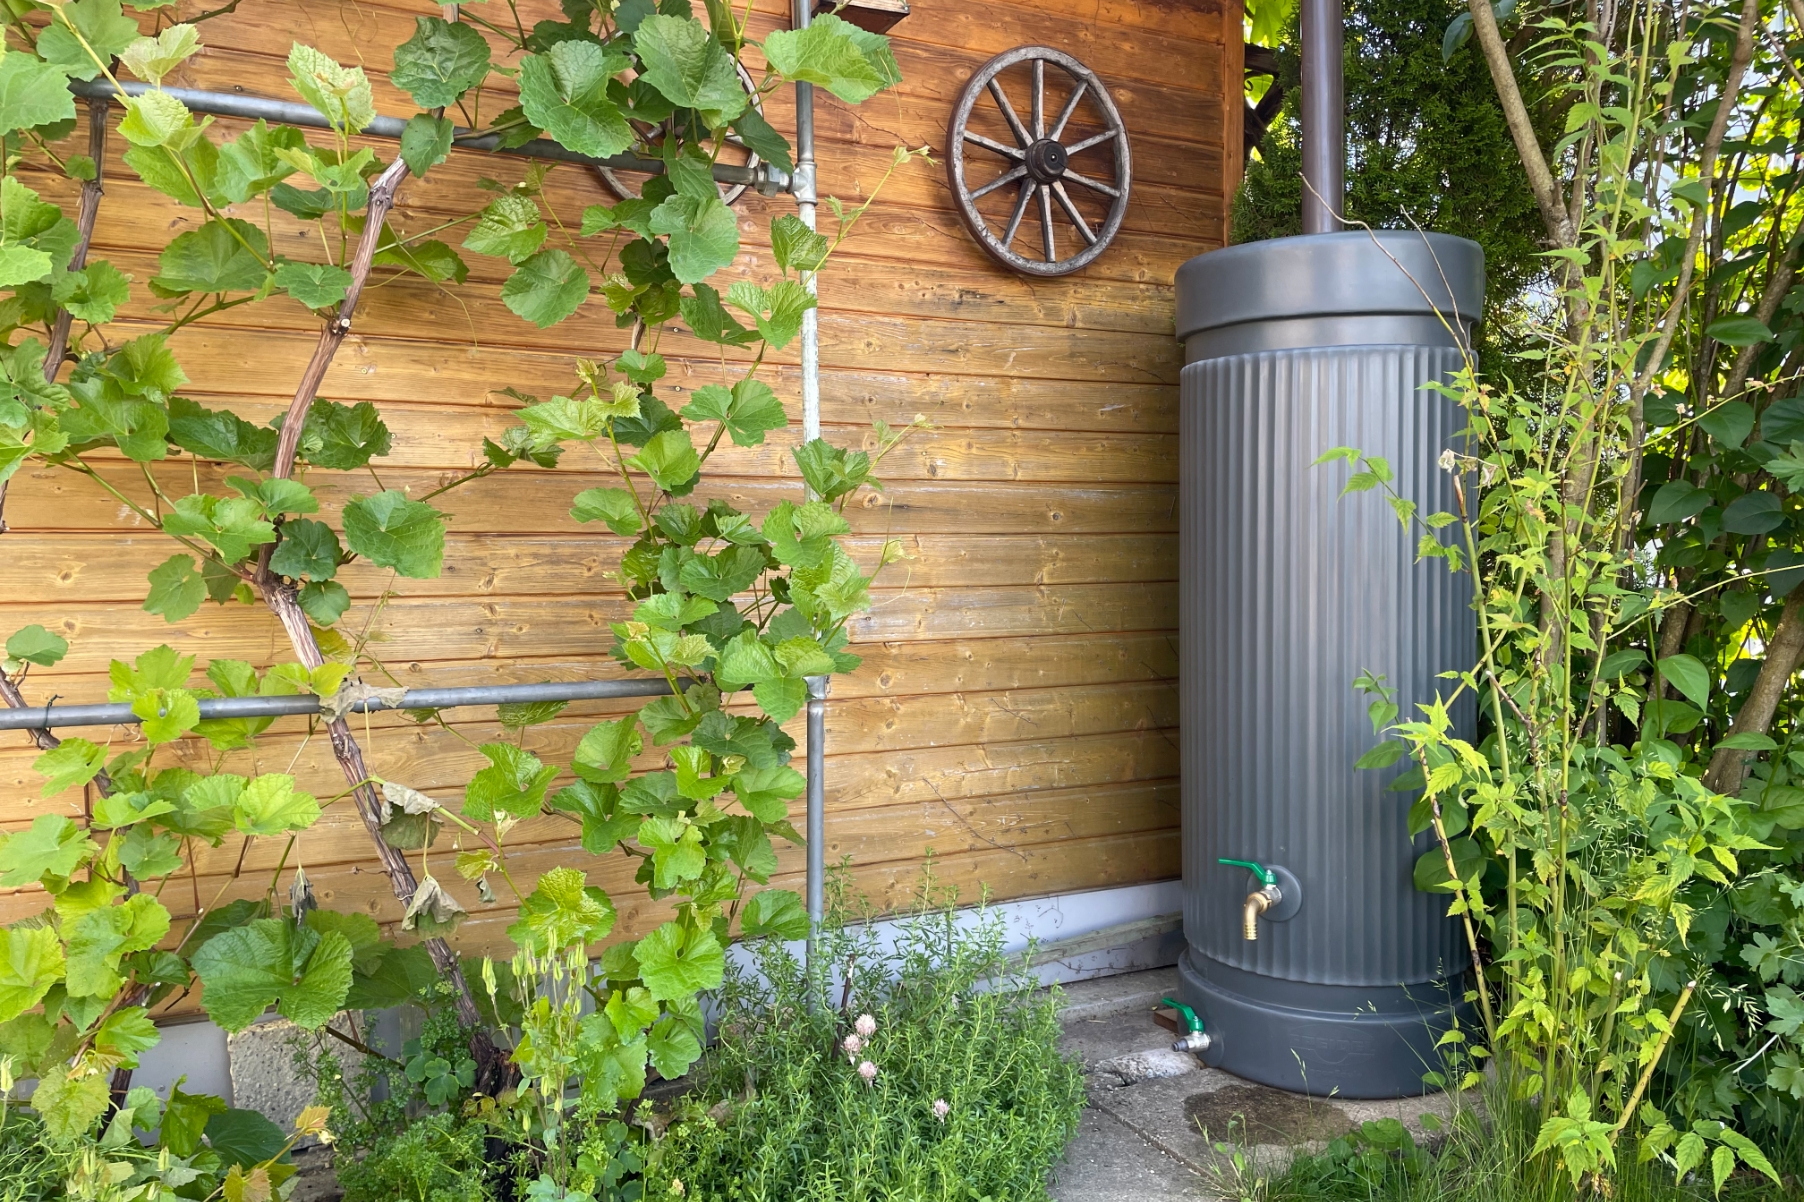
You have the choice
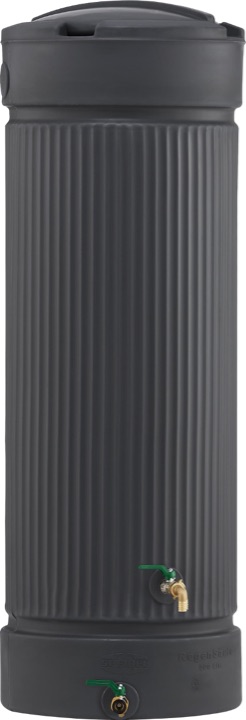
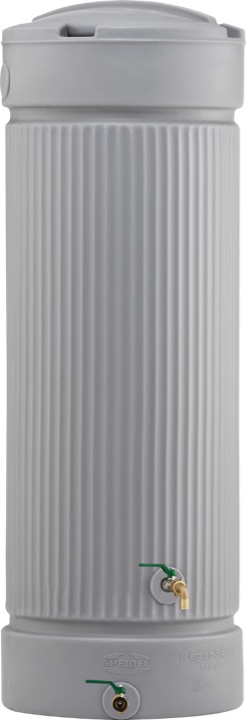
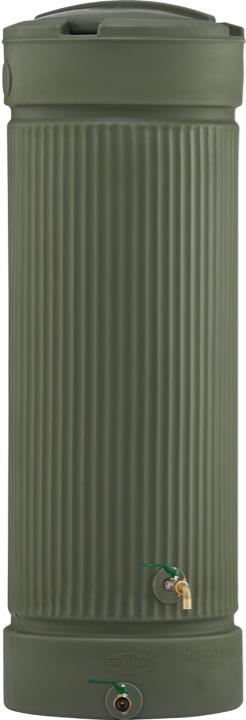
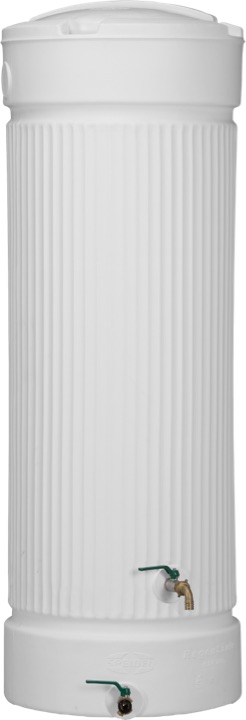
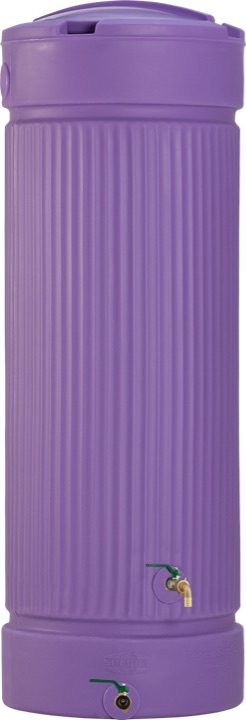
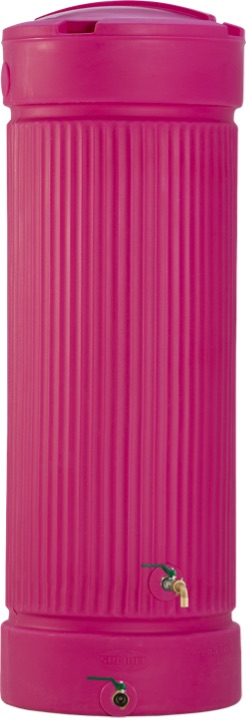
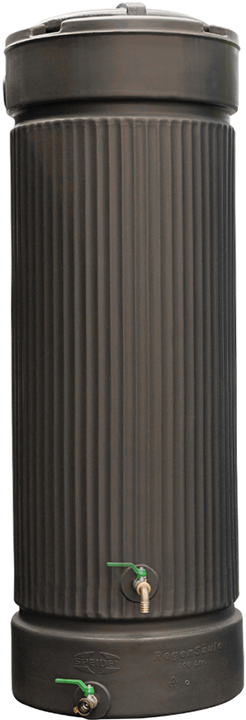
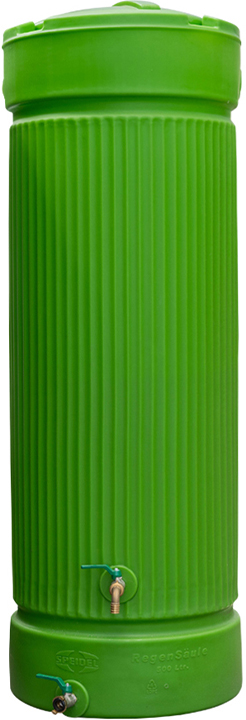
Our rain columns are generally available in three different colors. For the 500 liter size we offer additional colors. Furthermore, the column is also available with a noble wooden cladding.
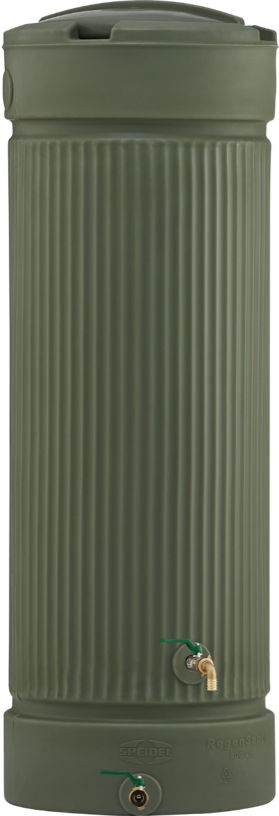
Standard colors
Special colors (500 litres)
Benefits
3× flat surface for
connection of the downpipe
Available in
different sizes
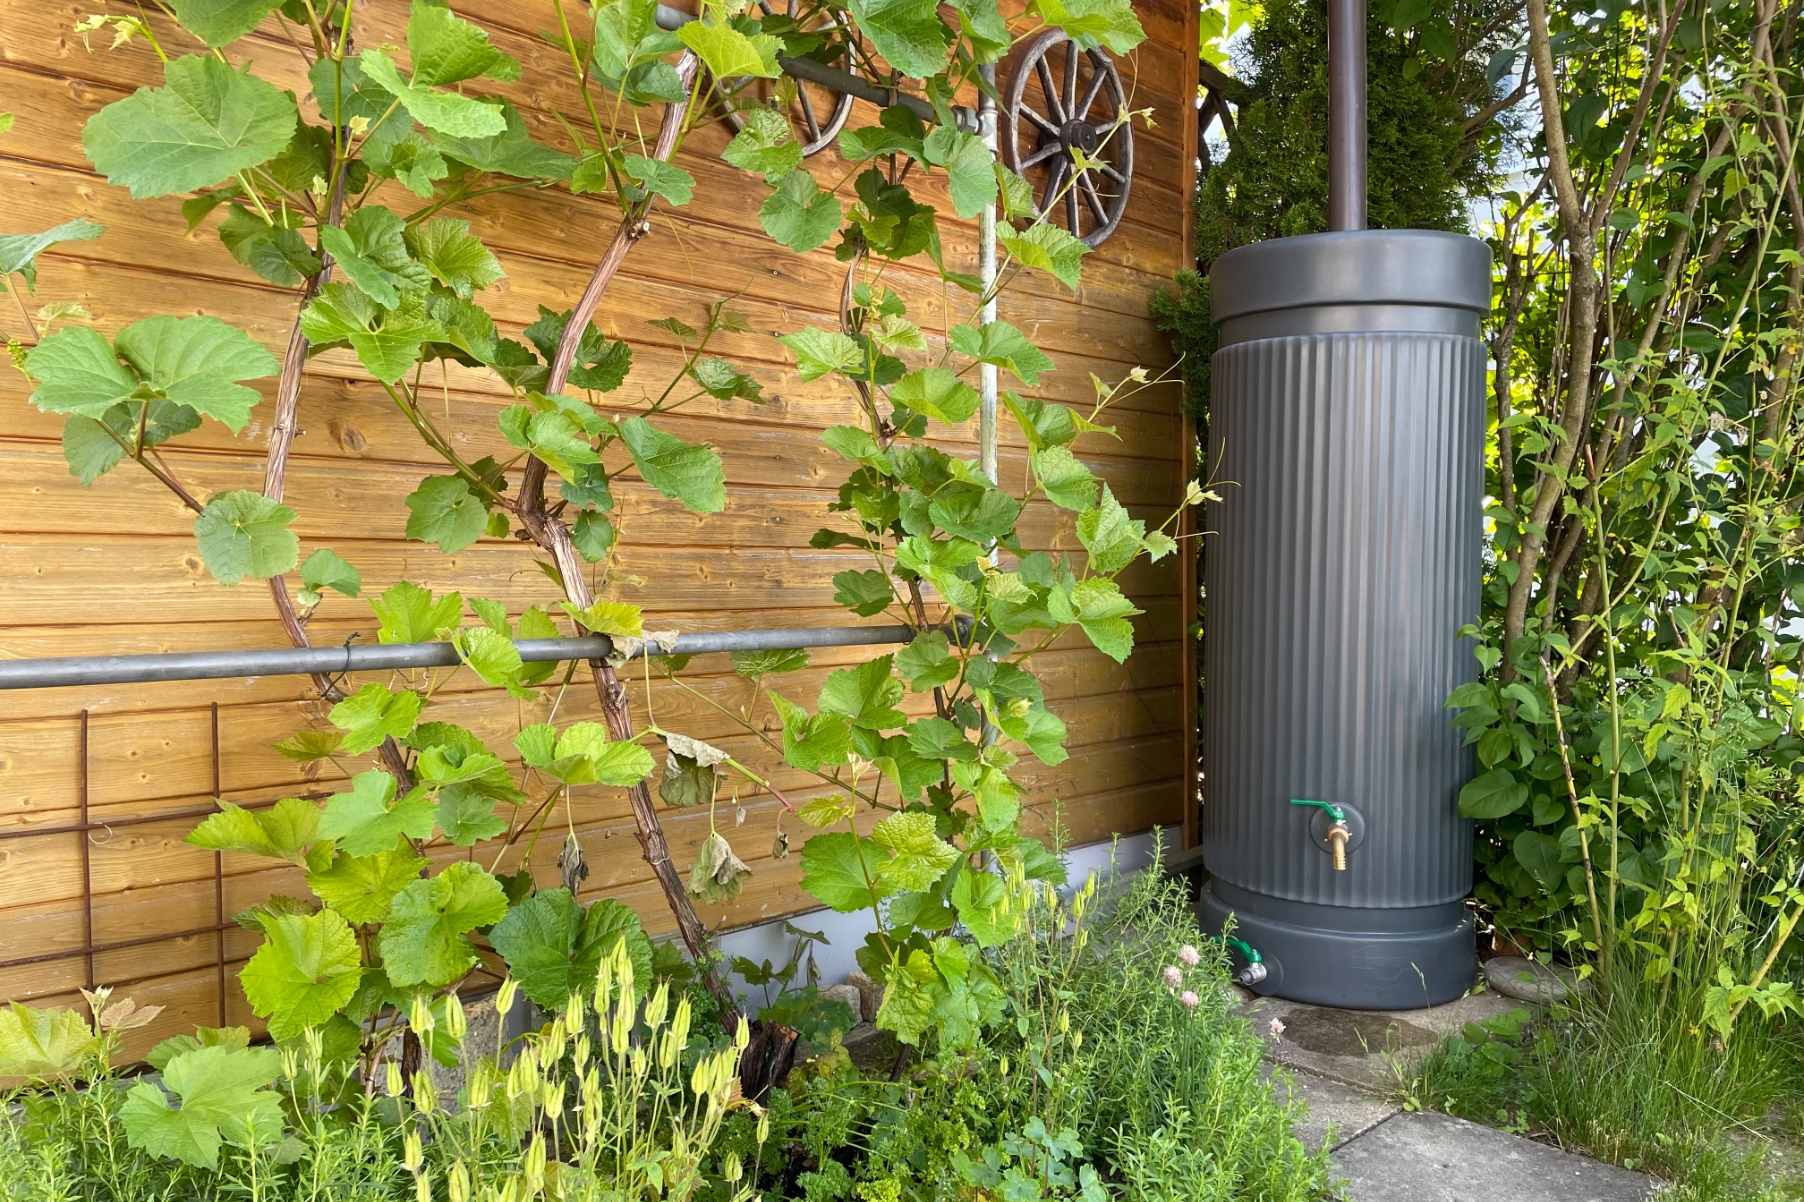
Collects a lot of water
on a small footprint
Robust and stable
due to round shape
Connection for outlet tap
Watering can and hose
Connection for stable
garden hose outlet
3× flat surface for connection of the downpipe
Available in different sizes
Collects a lot of water on a small footprint
Robust and stable due to round shape
Connection for solid metal tap and hose
Connection for solid metal tap and hose
Rainwater column tank REALWOOD
Our special edition is a REAL beauty. Because unlike the wooden-look column tanks, which only pretend to be made of wood, the REALWOOD is covered with real larch wood.
Visit our shop


Four sizes
Our classic rain columns are available in four different sizes from 300 litres to 2,000 litres. So there is a suitable size for all requirements.


Suitable accessories


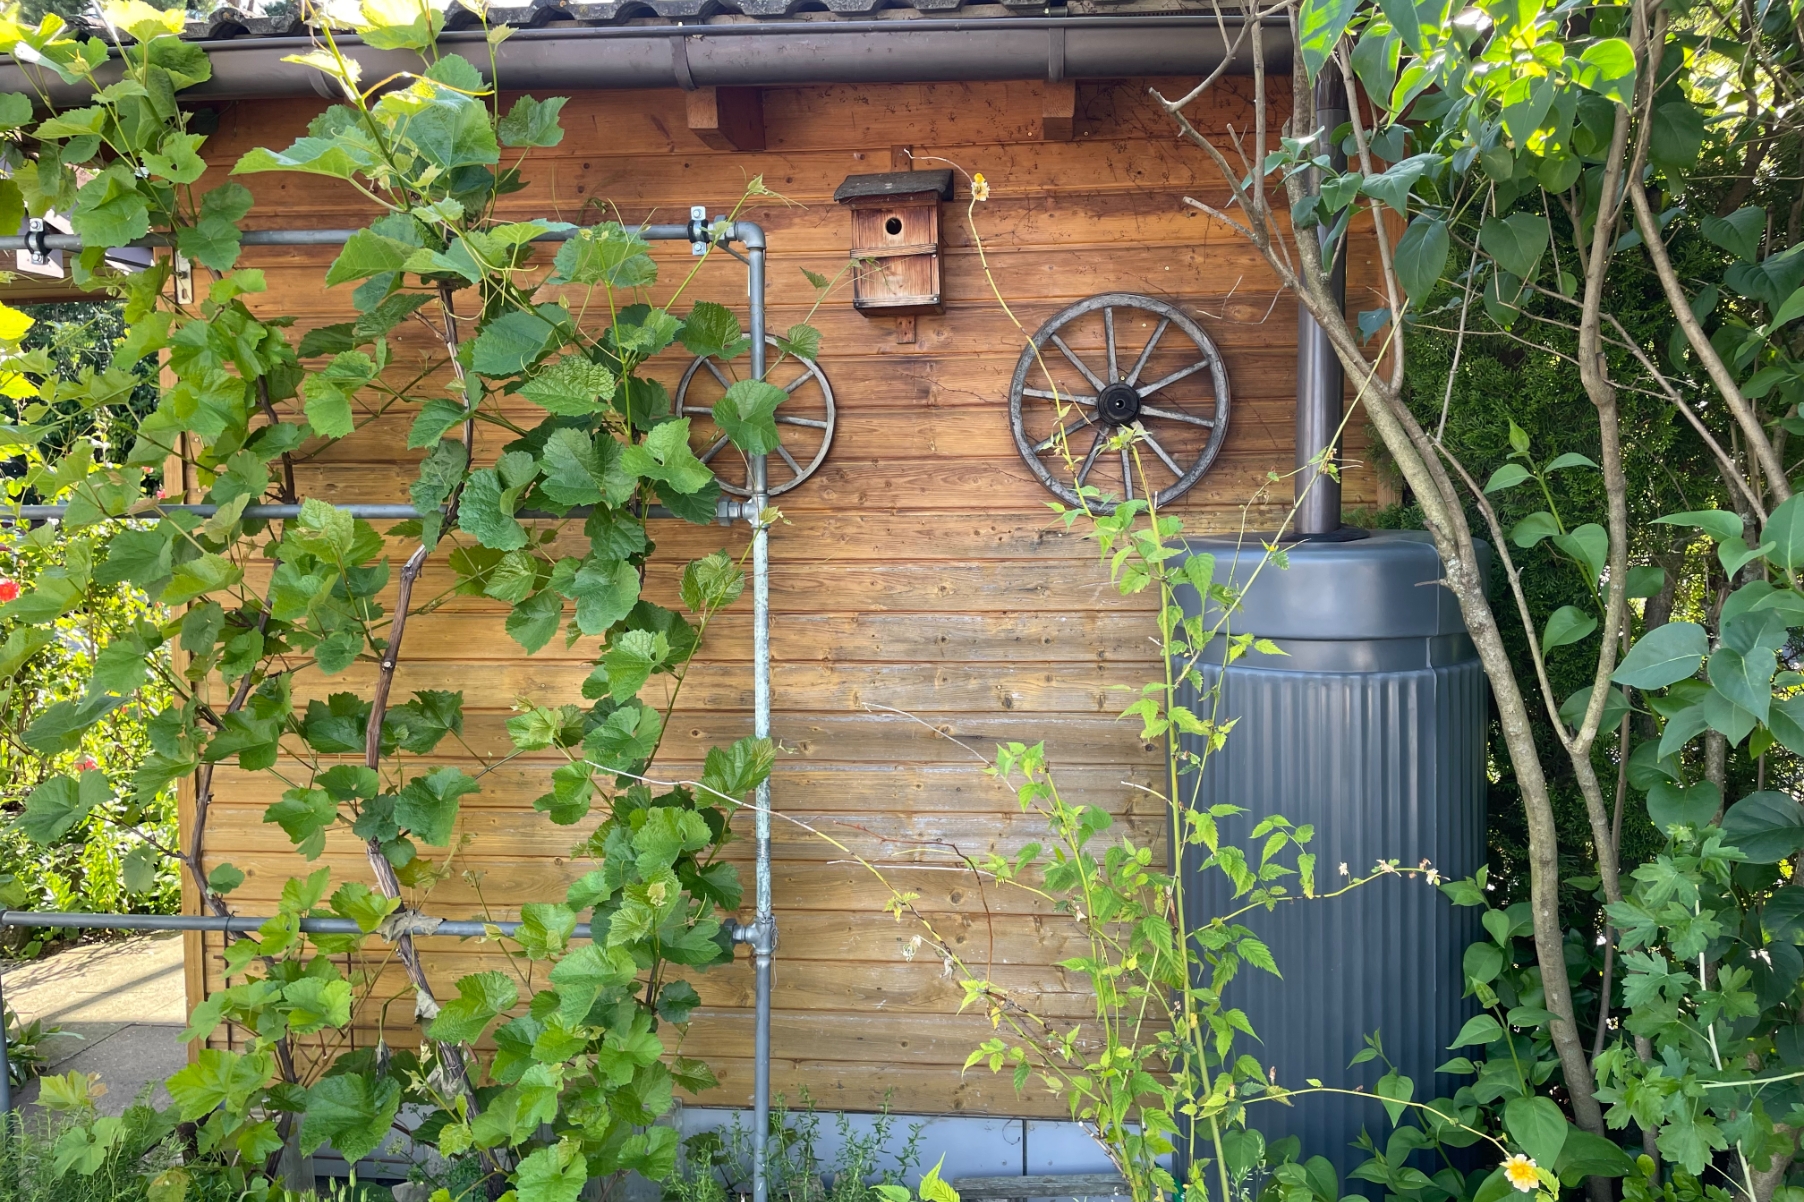
How to set up your
rainwater column tank
Here you can see how to connect your rain column to the downspout with a rain collector.
You will also find detailed installation instructions including sketches on the service page.
The built-in filter screen catches dirt and the water is directed into the column. At maximum level, the water runs out of the column back via the rain collector into the downpipe, where it drains off.
On the back of the rain column there are three flat surfaces for the connection of the downpipe.
Take the height of the center of the opening of one of the planar surfaces and transfer it horizontally from the rain column to the downpipe.
Next, saw off the downpipe 85 mm (L1) below this mark.
Place the second cut 300 mm (L2) above the first cut.
In the resulting gap insert the rain collector.
In order to connect the rain collector to the rain column, you must drill out the corresponding flat surface. To do this, select a drill bit with a diameter of 50 mm and drill in the center. Now mount the hose nipple and attach the connecting hose (shortened to 10 cm).